
Bubbles & Brine: 5 Sneaky Fermentation Fails and the Gear That Fixes Them
From swampy smells to probiotic perfection—avoid these common stumbles for the best home ferments.
The Bubbling Magic of the Fox Den Kitchen
There is a quiet, rhythmic magic that happens on my kitchen counter every Tuesday morning. While the rest of the house is still shaking off sleep, I’m usually found hovering over a few glass jars, listening for that tell-tale hiss of a happy ferment. It’s a sound that brings me back to the basics of Mediterranean living—where we don't just "eat" our food; we live with it.
Fermentation isn't just a trendy buzzword for your gut health (though the science says it’s a powerhouse for reducing inflammation and boosting nutrient absorption!). To me, it’s about turning a humble head of cabbage or a tub of plain milk into something vibrant, tangy, and alive. But let’s be real: the first time I tried to ferment my own olives, I ended up with something that smelled more like a swamp than a seaside village.
Ever since I started blending my Italian roots with the bold, fermented traditions of my neighbors, I’ve learned that the line between a "gut-loving superfood" and a "science experiment gone wrong" is thinner than a phyllo sheet. Today, I’m reviewing the most common beginner stumbles I see (and have made!) so your kitchen can stay a "fox den" of flavor, not a disaster zone.
1. The "Open Door" Policy (Oxygen is the Enemy)
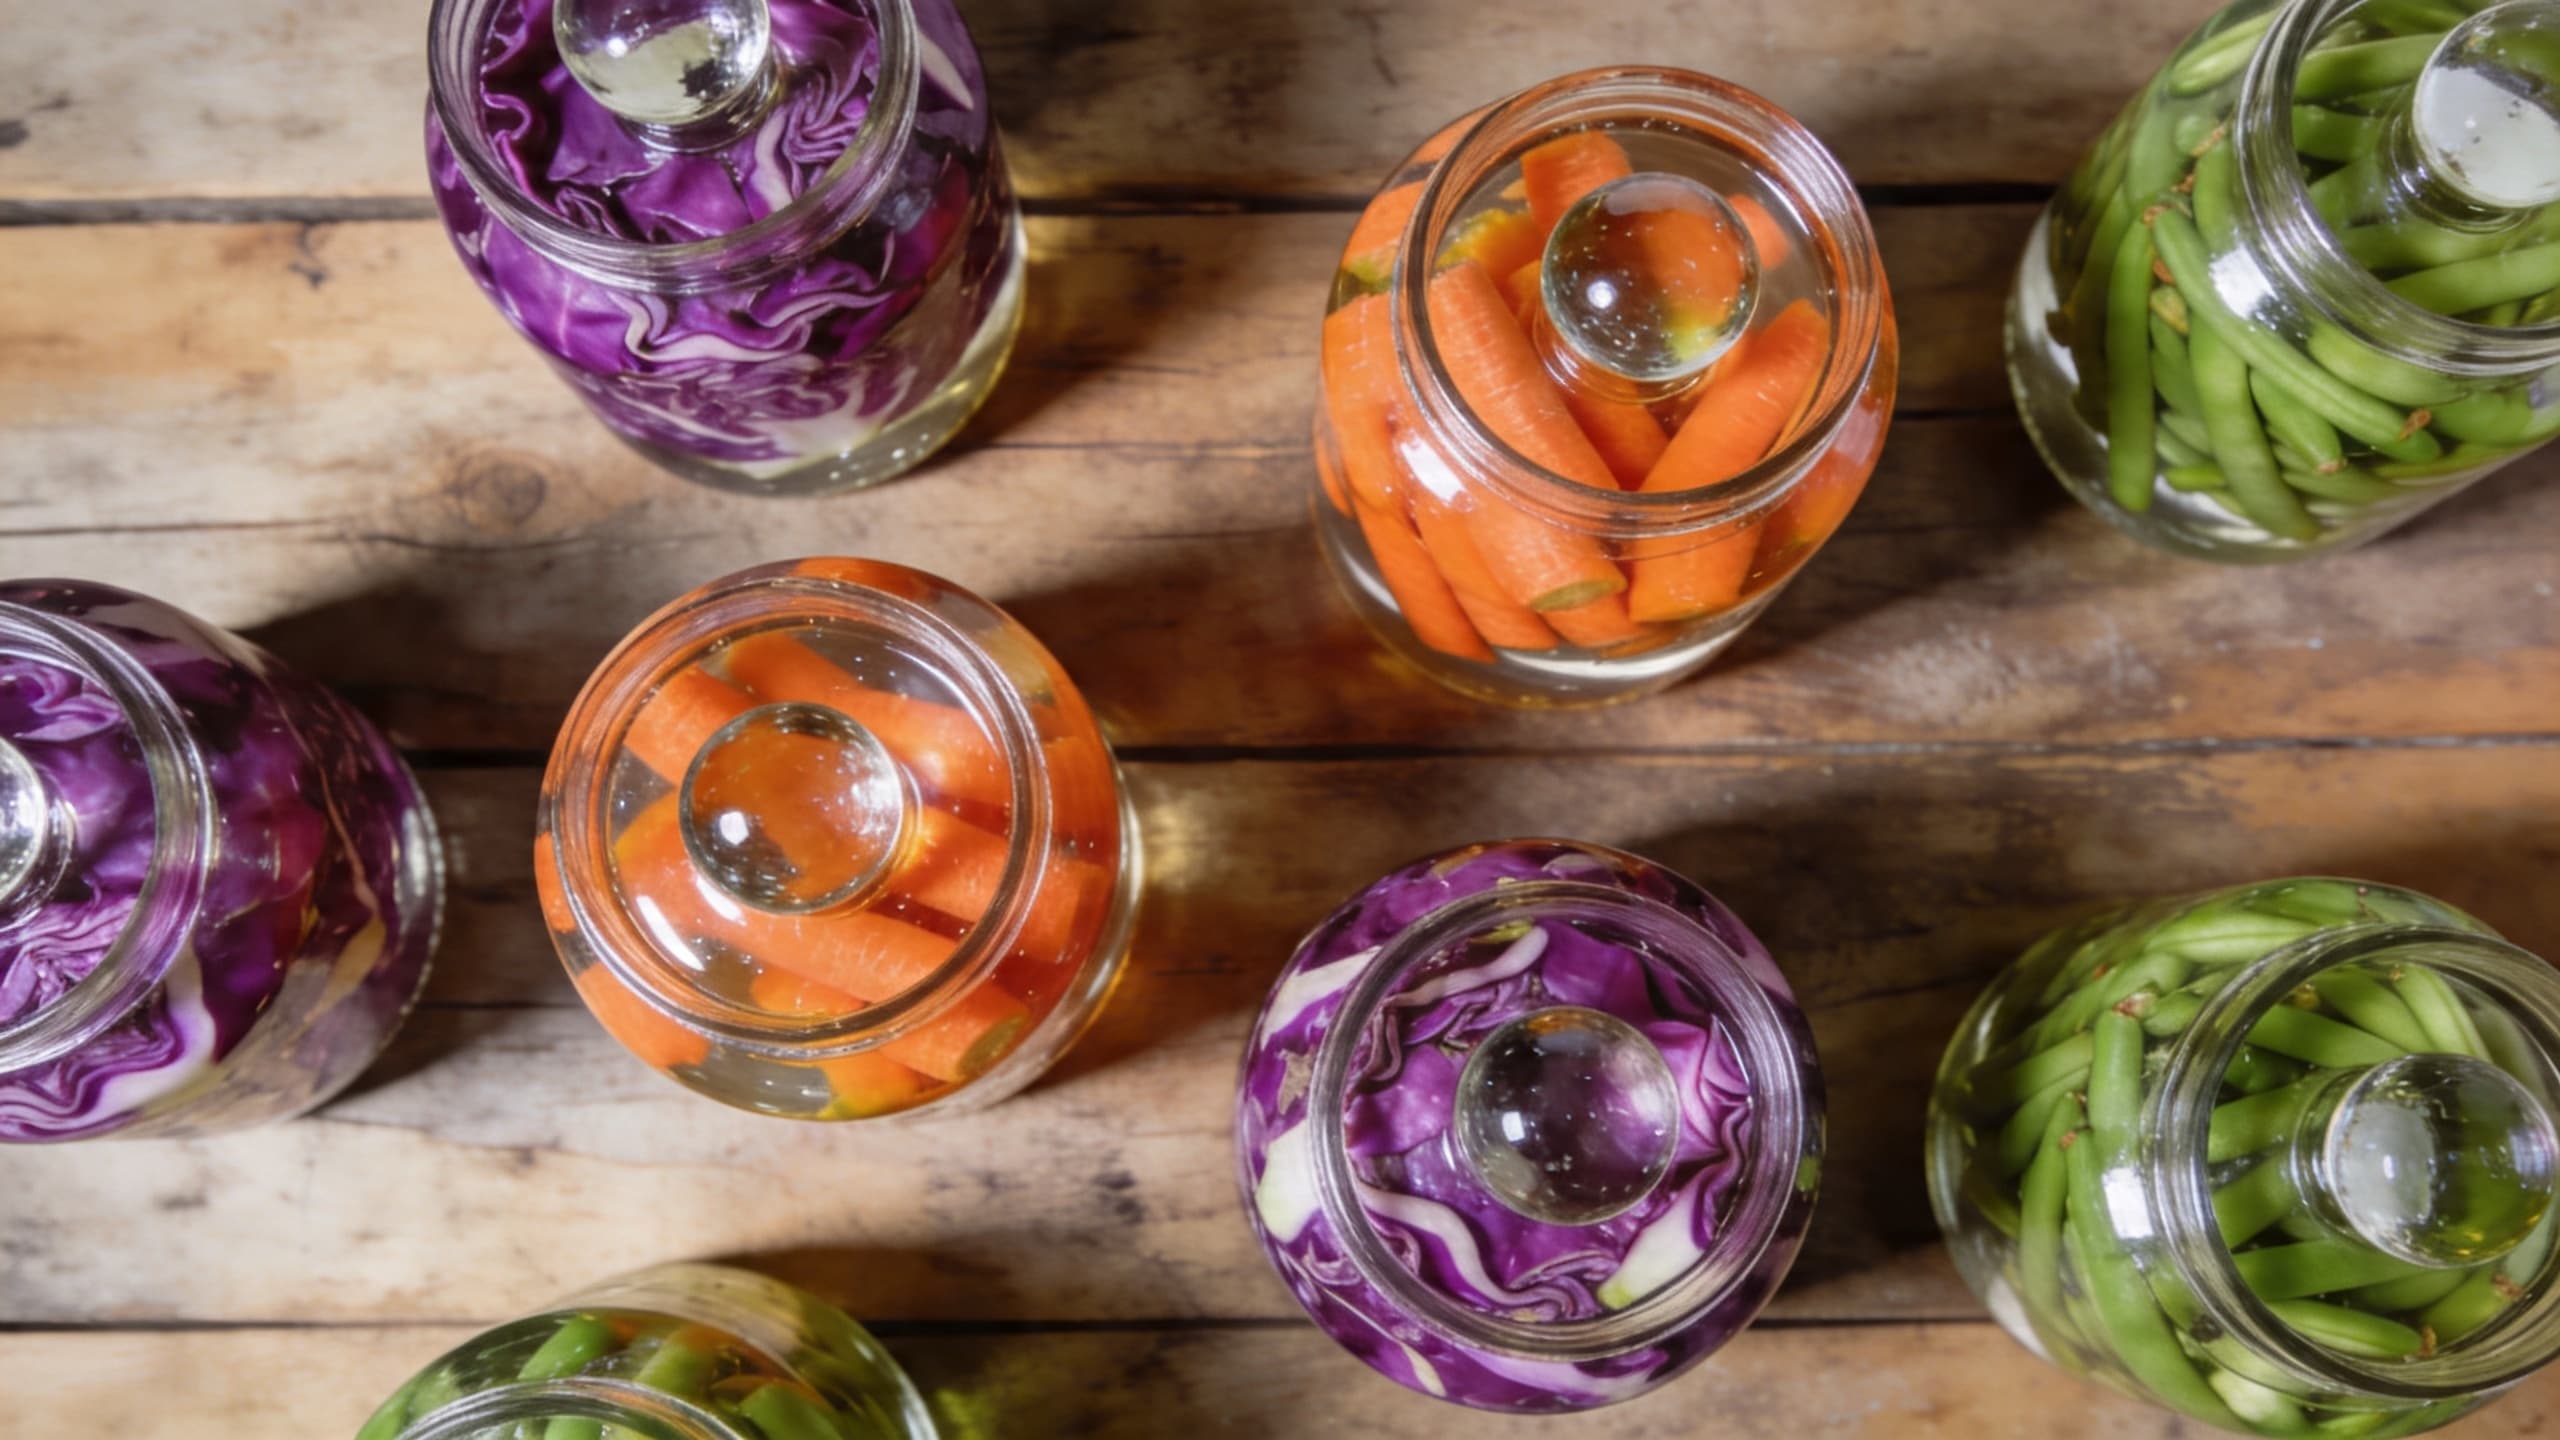
The biggest mistake I see beginners make—and I was guilty of this for months—is letting too much air into the jar. Most of the ferments we love, like sauerkraut or pickles, are anaerobic. That means the "good guys" (the Lactobacilli) do their best work when they are completely submerged and away from oxygen.
Warning: If your veggies are floating above the brine, they are essentially throwing a party for mold. If you see fuzzy white or green growth on top, that’s oxygen's way of saying "I win."
The Easy Fix:
Invest in glass fermentation weights or even a clean, smaller jar filled with water to keep everything pressed down. In my kitchen, I call these the "anchors." If it’s under the brine, it’s fine!
2. The Salt Shaker Slip-Up (Precision Matters)
I’m usually the first person to tell you to "measure with your heart" when it comes to garlic or olive oil. But with fermentation? Your heart doesn't know the specific gravity of brine! Using too little salt allows "bad" bacteria to take over, making your veggies mushy. Too much salt? You’ll kill the "good guys" before they can even start.
Great fermentation is a dance between salt and time—get the rhythm right, and the flavor follows.
The Easy Fix:
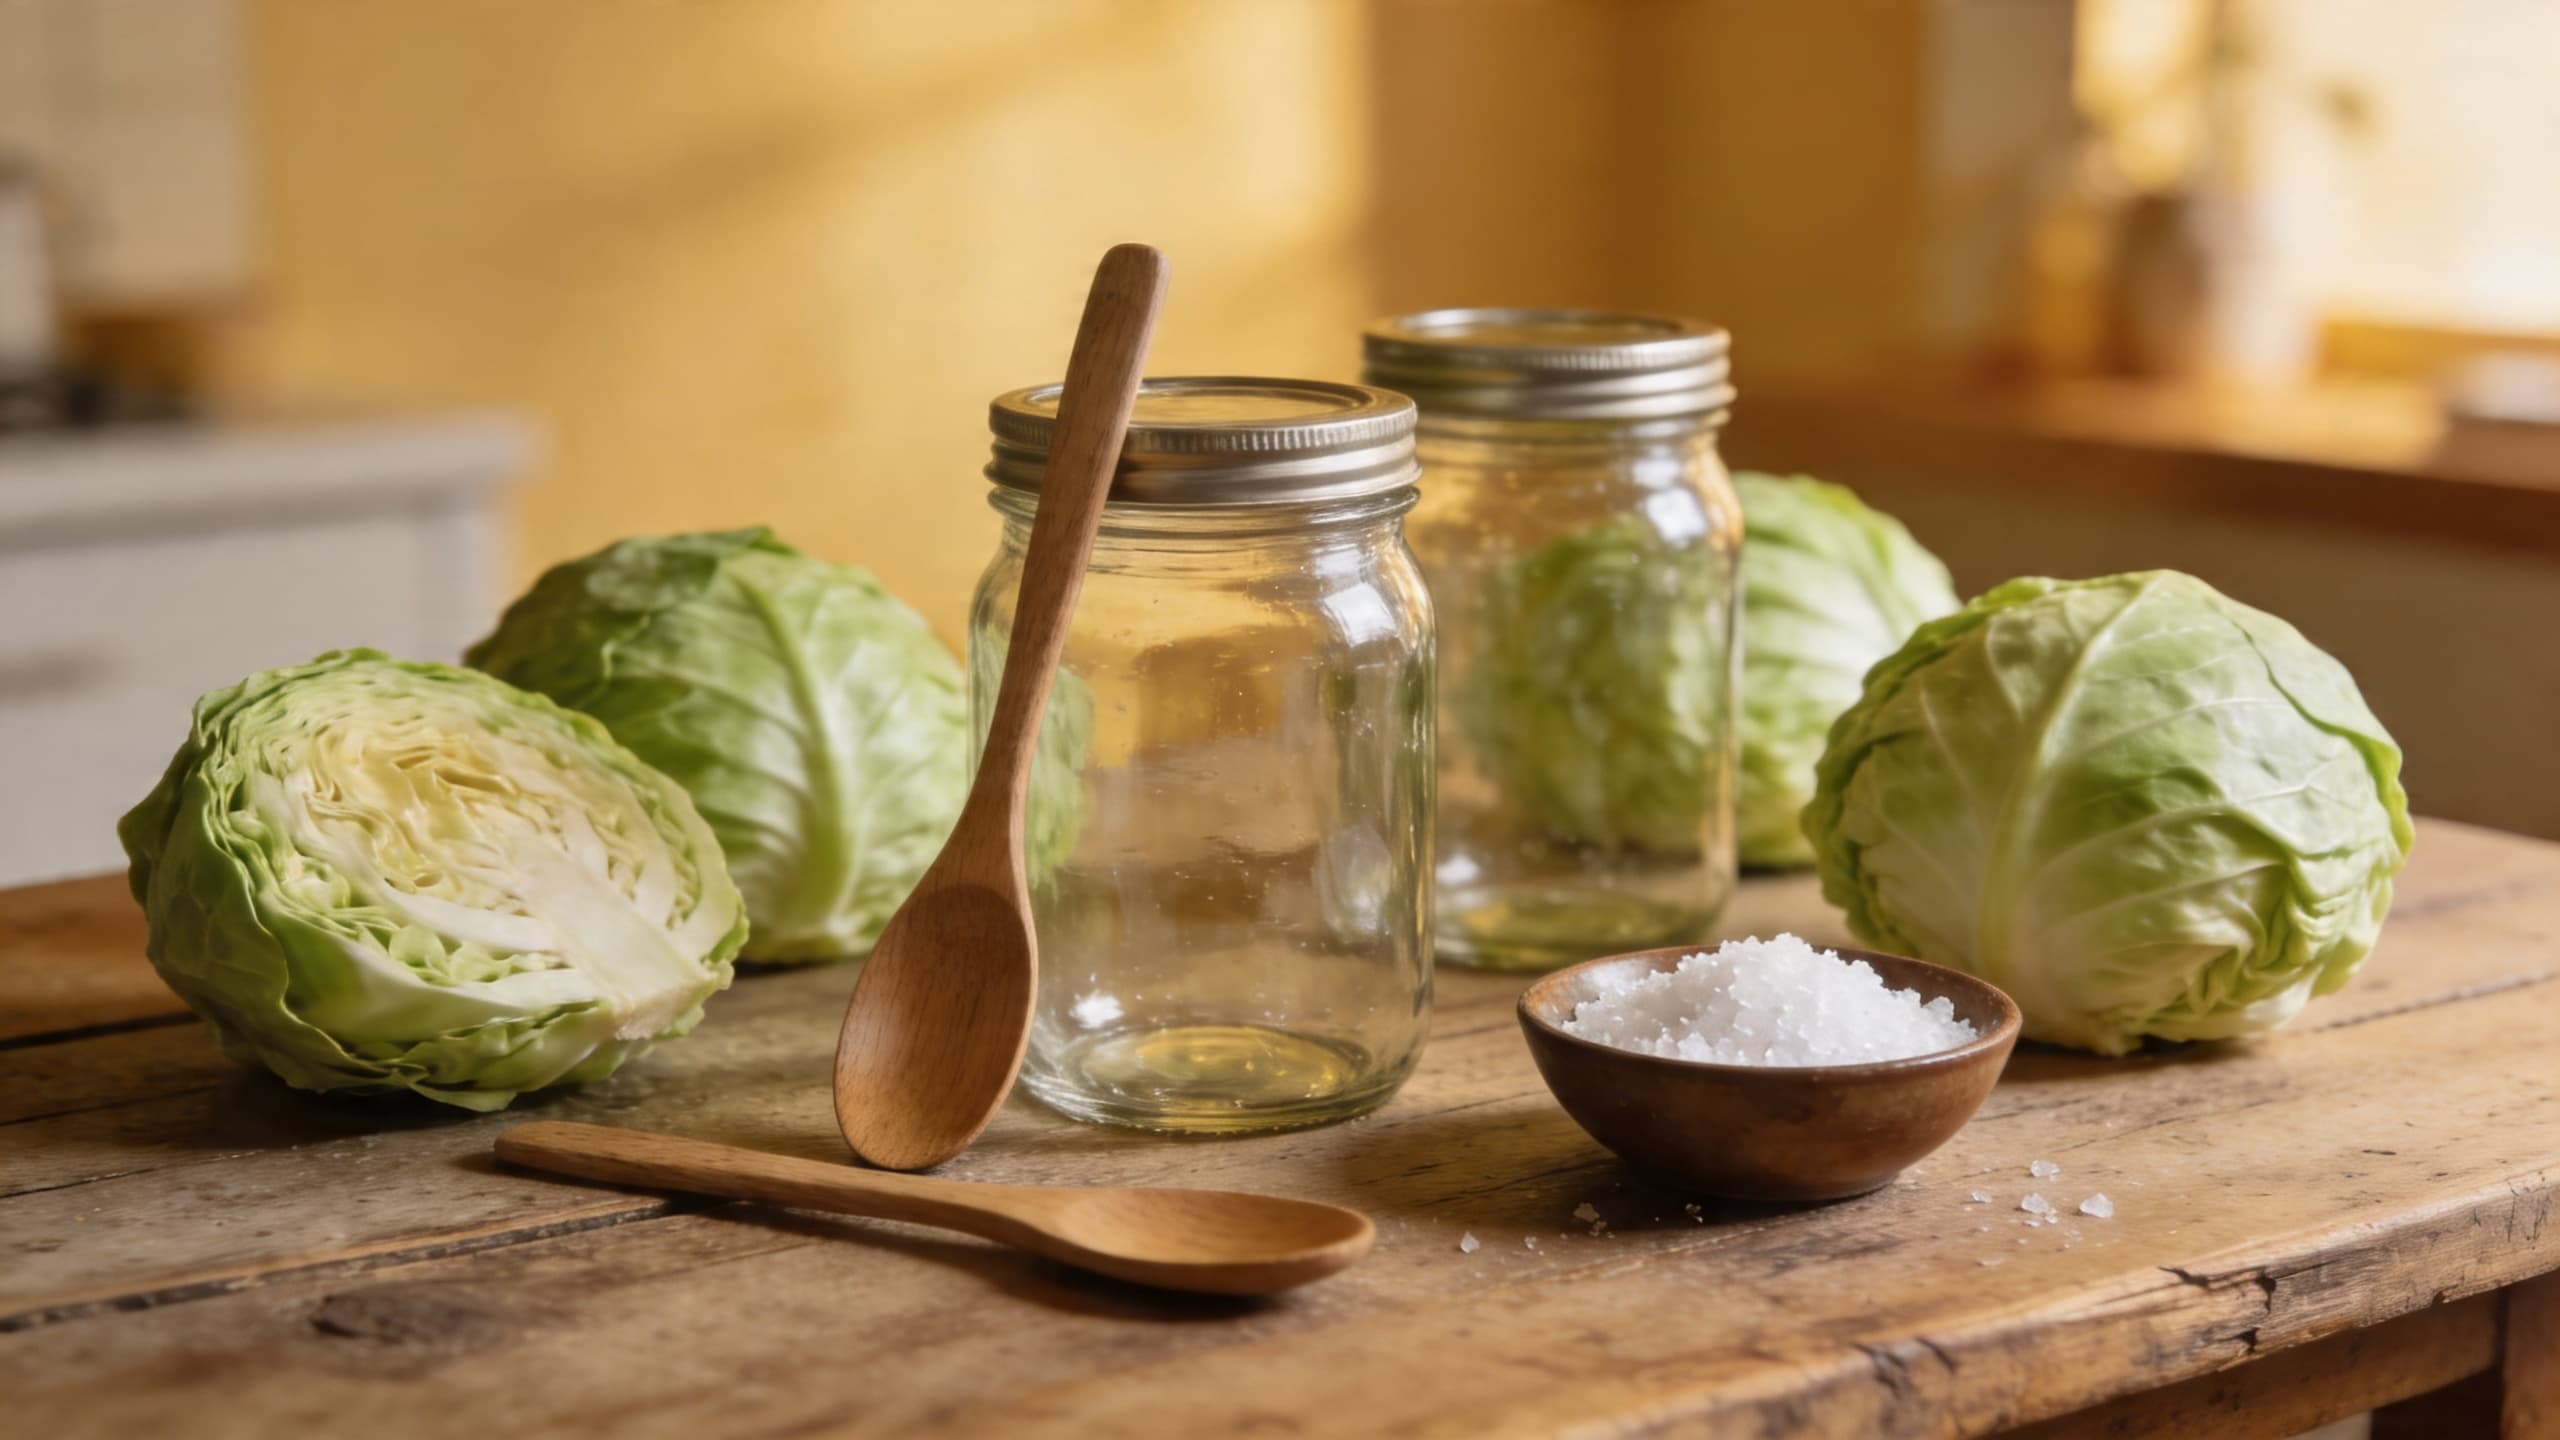
Stick to a 2% to 3% brine rule for veggies. That’s roughly 1 tablespoon of high-quality sea salt (avoid iodized salt, as iodine can inhibit fermentation) per quart of filtered water.
Pro Tip: Always use filtered or spring water. The chlorine in tap water is literally designed to kill bacteria—including the ones you’re trying to grow!
3. Temperature Tantrums
I once left a batch of homemade yogurt near the radiator thinking "the warmer, the better!" I ended up with a jar of separated, sour-smelling liquid that was definitely not the silky Mediterranean treat I was craving. Fermentation is like a cozy fox den—it needs to be just right.
- Too Cold: The bacteria go dormant. Your ferment will take weeks and might never develop that zesty punch.
- Too Hot: The bacteria work too fast, creating "off" flavors and a texture that’s more "slime" than "crunch."
The Easy Fix:
Find a consistent, dark spot in your kitchen that stays between 65°F and 75°F (18°C–24°C). If you’re making yogurt, a steady 110°F (43°C) is the sweet spot.
4. The "Watch Pot" Syndrome (Patience, Little Fox!)
We live in a world of "instant," but fermentation is the ultimate slow food. I get so many messages from folks saying, "Feta, it’s been two days and my olives aren't sour yet!"
Did You Know? Traditional Mediterranean olives can take months to fully ferment and lose their bitterness. Even a simple cabbage ferment usually needs at least 7 to 10 days to reach its peak probiotic potential.
The Easy Fix:
Taste your ferments every few days after the first week. When it hits that perfect level of "zing" that makes the back of your jaw tingle, move it to the fridge. The cold temperatures will slow the process down significantly, locking in that flavor.
5. Gear Overload (Keep it Simple)
You don't need a $200 fermentation crock to get started. In fact, some of the most "high-tech" looking gear can be harder for beginners to clean, leading to cross-contamination.
Key Takeaway: The best setup is the one you actually use. Start with wide-mouth mason jars and basic lids before moving onto airlock systems.
The Easy Fix:
If you’re using a standard lid, just remember to "burp" your jars once a day to let the carbon dioxide escape. It’s a great way to stay connected to your food and check on the progress!
Final Review: Is it Worth the Effort?
Absolutely. When you crack open a jar of home-fermented veggies to top your Mediterranean grain bowl, you aren't just adding flavor—you're adding a piece of living history to your plate. It’s budget-friendly, waste-reducing (hello, fermented broccoli stalks!), and incredibly rewarding.
So, grab a jar, some salt, and a little patience. From my kitchen to yours, let’s get bubbling! 🫧🌿🦊
Tip: Start small! Try a simple jar of "Ginger Carrots" (sliced carrots, ginger, and 2% brine). They are the perfect "gateway" ferment for kids and adults alike.
#fermentation #guthealth #mediterraneandiet #healthyeating #kitchenhacks