
5 Foolproof Ways to Ferment Veggies at Home for Gut-Healthy Mediterranean Sides
Unlock the zesty power of probiotics with these simple kitchen hacks!
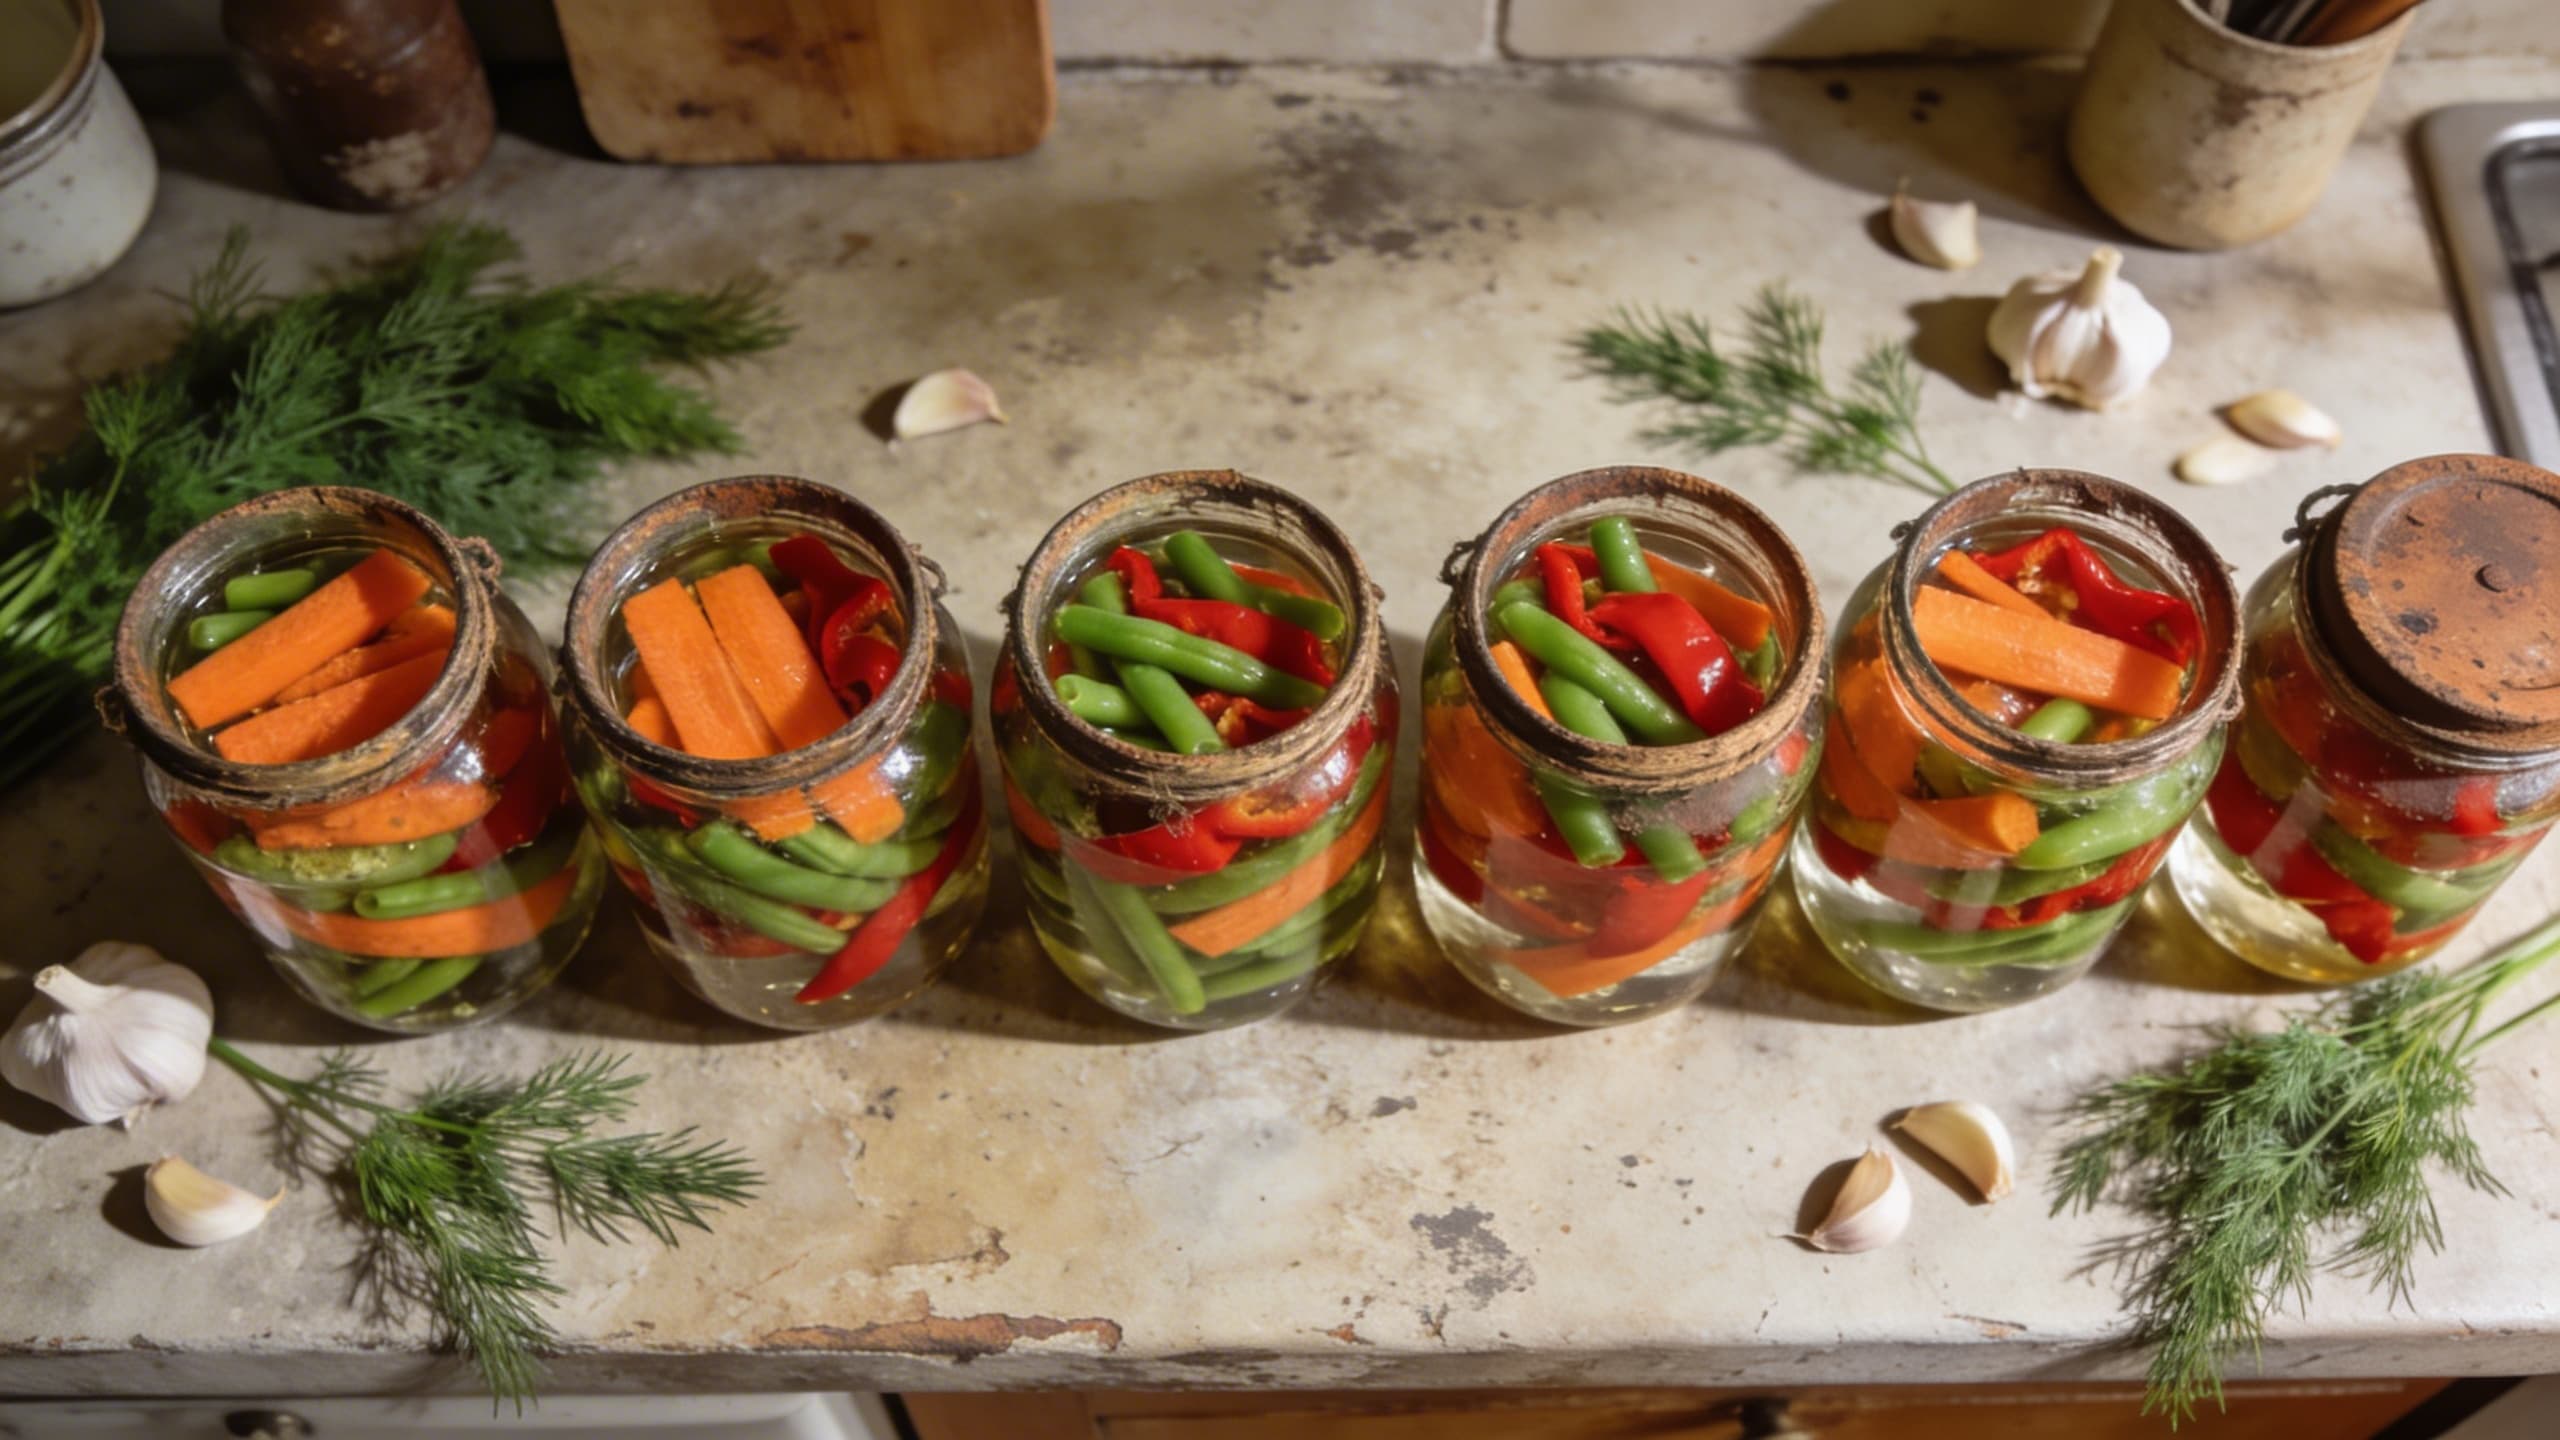
Ever walked into a Mediterranean kitchen and noticed those beautiful, bubbling jars sitting on the counter like little science experiments? 🧪🌿 That’s the magic of fermentation, a tradition as old as the olive trees themselves! Growing up with a kitchen that always smelled faintly of brine and fresh herbs, I learned early on that the secret to that "vibrant life" feeling isn't just what you eat—it's how you prepare it.
Today, we’re diving deep into the world of "wild" fermentation. It sounds fancy, but it’s actually the ultimate lazy-chef hack for busy families. You’re essentially letting good bacteria do the "cooking" for you while you sleep. Plus, the latest science is backing up what our ancestors already knew: these tangy treats are like a spa day for your gut microbiome, helping with everything from digestion to boosting your mood! 🥗✨
1. The "Golden Ratio" of Brine
The biggest pitfall for beginners is the salt. Too little, and you get mushy, unsafe veggies. Too much, and you’re basically eating a salt lick. For most Mediterranean sides like peppers, carrots, or green beans, the magic number is a 2% to 3% brine.
Tip: Use filtered water if you can! Chlorine in tap water can sometimes act like a "stop sign" for the beneficial bacteria we’re trying to grow.
- Weight your veggies and the water they’ll be in (in grams).
- Multiply that total weight by 0.02.
- That’s exactly how much sea salt you need!
2. Submerge or Suffer (The "Fox Den" Rule)
In my kitchen, we have a saying: "Below the brine, all is fine!" The moment a veggie peeks its head above the liquid and touches the air, it’s an invitation for mold to join the party.
Pro Tip: You don't need fancy weights. A clean cabbage leaf tucked over the top of your veggies, or even a smaller glass jar filled with water nested inside the larger one, works perfectly to keep everything submerged.
3. The Tangy Tsatsiki Booster: My Signature Move
One of my favorite "experiments" involves fermenting cucumbers specifically to grate into my tzatziki. Instead of raw cucumbers that can make the dip watery, I use lightly fermented "half-sour" pickles.
The depth of flavor you get from a fermented cucumber vs. a raw one is like comparing a postcard to the actual Mediterranean coast.
By fermenting them with garlic and dill for just 3-4 days, you unlock a zesty punch that makes your dip taste like it came from a high-end Greek taverna. Just grate them, squeeze out the excess brine, and fold them into your thick yogurt. It’s a game-changer! 🥒🇬🇷
4. Temperature is Your Best Friend (and Worst Enemy)
Fermentation is like a Goldilocks situation—it likes things "just right." If your kitchen is as warm as a summer day in Sicily, your veggies will ferment in a flash (sometimes too fast, leading to a funky texture). If it’s chilly, they might take weeks to get tangy.
Did You Know? The ideal range is between 65°F and 72°F (18-22°C). If it's a heatwave, move your jars to the pantry floor or a cooler corner of the house.
5. Trust Your Senses (The "Sniff Test")
I know, I know—fermenting can feel scary. "Is this safe?!" is the #1 question I get. Here’s the wholesome truth: your nose is an expert. A healthy ferment should smell zesty, vinegary, and bright.
Warning: If it smells like a gym locker, or if you see fuzzy pink or black mold, it’s a "no-go." Toss it, wash the jar, and try again! It’s all part of the learning curve.
Key Takeaway: Fermentation isn't about perfection; it's about patience and a little bit of salt. Start small—maybe just a jar of carrots with some garlic—and watch how these probiotic powerhouses transform your family's dinner plate!
Vibrant food, vibrant life, and happy fermenting! 🦊✨