
God's Butter: 4 Steps to Perfect Smoked Bone Marrow
Mastering the High-Viscosity Foundation of Fusion BBQ
The Architectural Elegance of Smoked Lipid Profiles
If your culinary routine currently lacks the structural complexity of a perfectly rendered, smoke-infused lipid profile, we need to recalibrate your kitchen frequency. Bone marrow is often called "God’s butter," but in my world, it’s the high-viscosity foundation of French-Italian fusion. It’s the secret weapon that transforms a standard beef tartare into a Michelin-level experience.
However, there’s a fine line between a stunning, molten center and a dried-out, shriveled husk that looks like it survived a desert trek. Precision is the difference between a masterpiece and a tragedy. I’ve had my share of blunders—once, early in my career, I cranked the offset smoker too high and ended up with "bone-flavored charcoal." We don't do that here. We build routines around technique, and today, I’m breaking down the four foolproof steps to mastering smoked bone marrow at home.
Step 1: The Brine and Cleanse
Before the smoke even touches the bone, you have to address the impurities. Blood spots in marrow are the enemy of a clean, sophisticated flavor. To achieve that pristine, ivory-white finish, you must soak your bones in a cold salt-water brine for at least 12 to 24 hours.
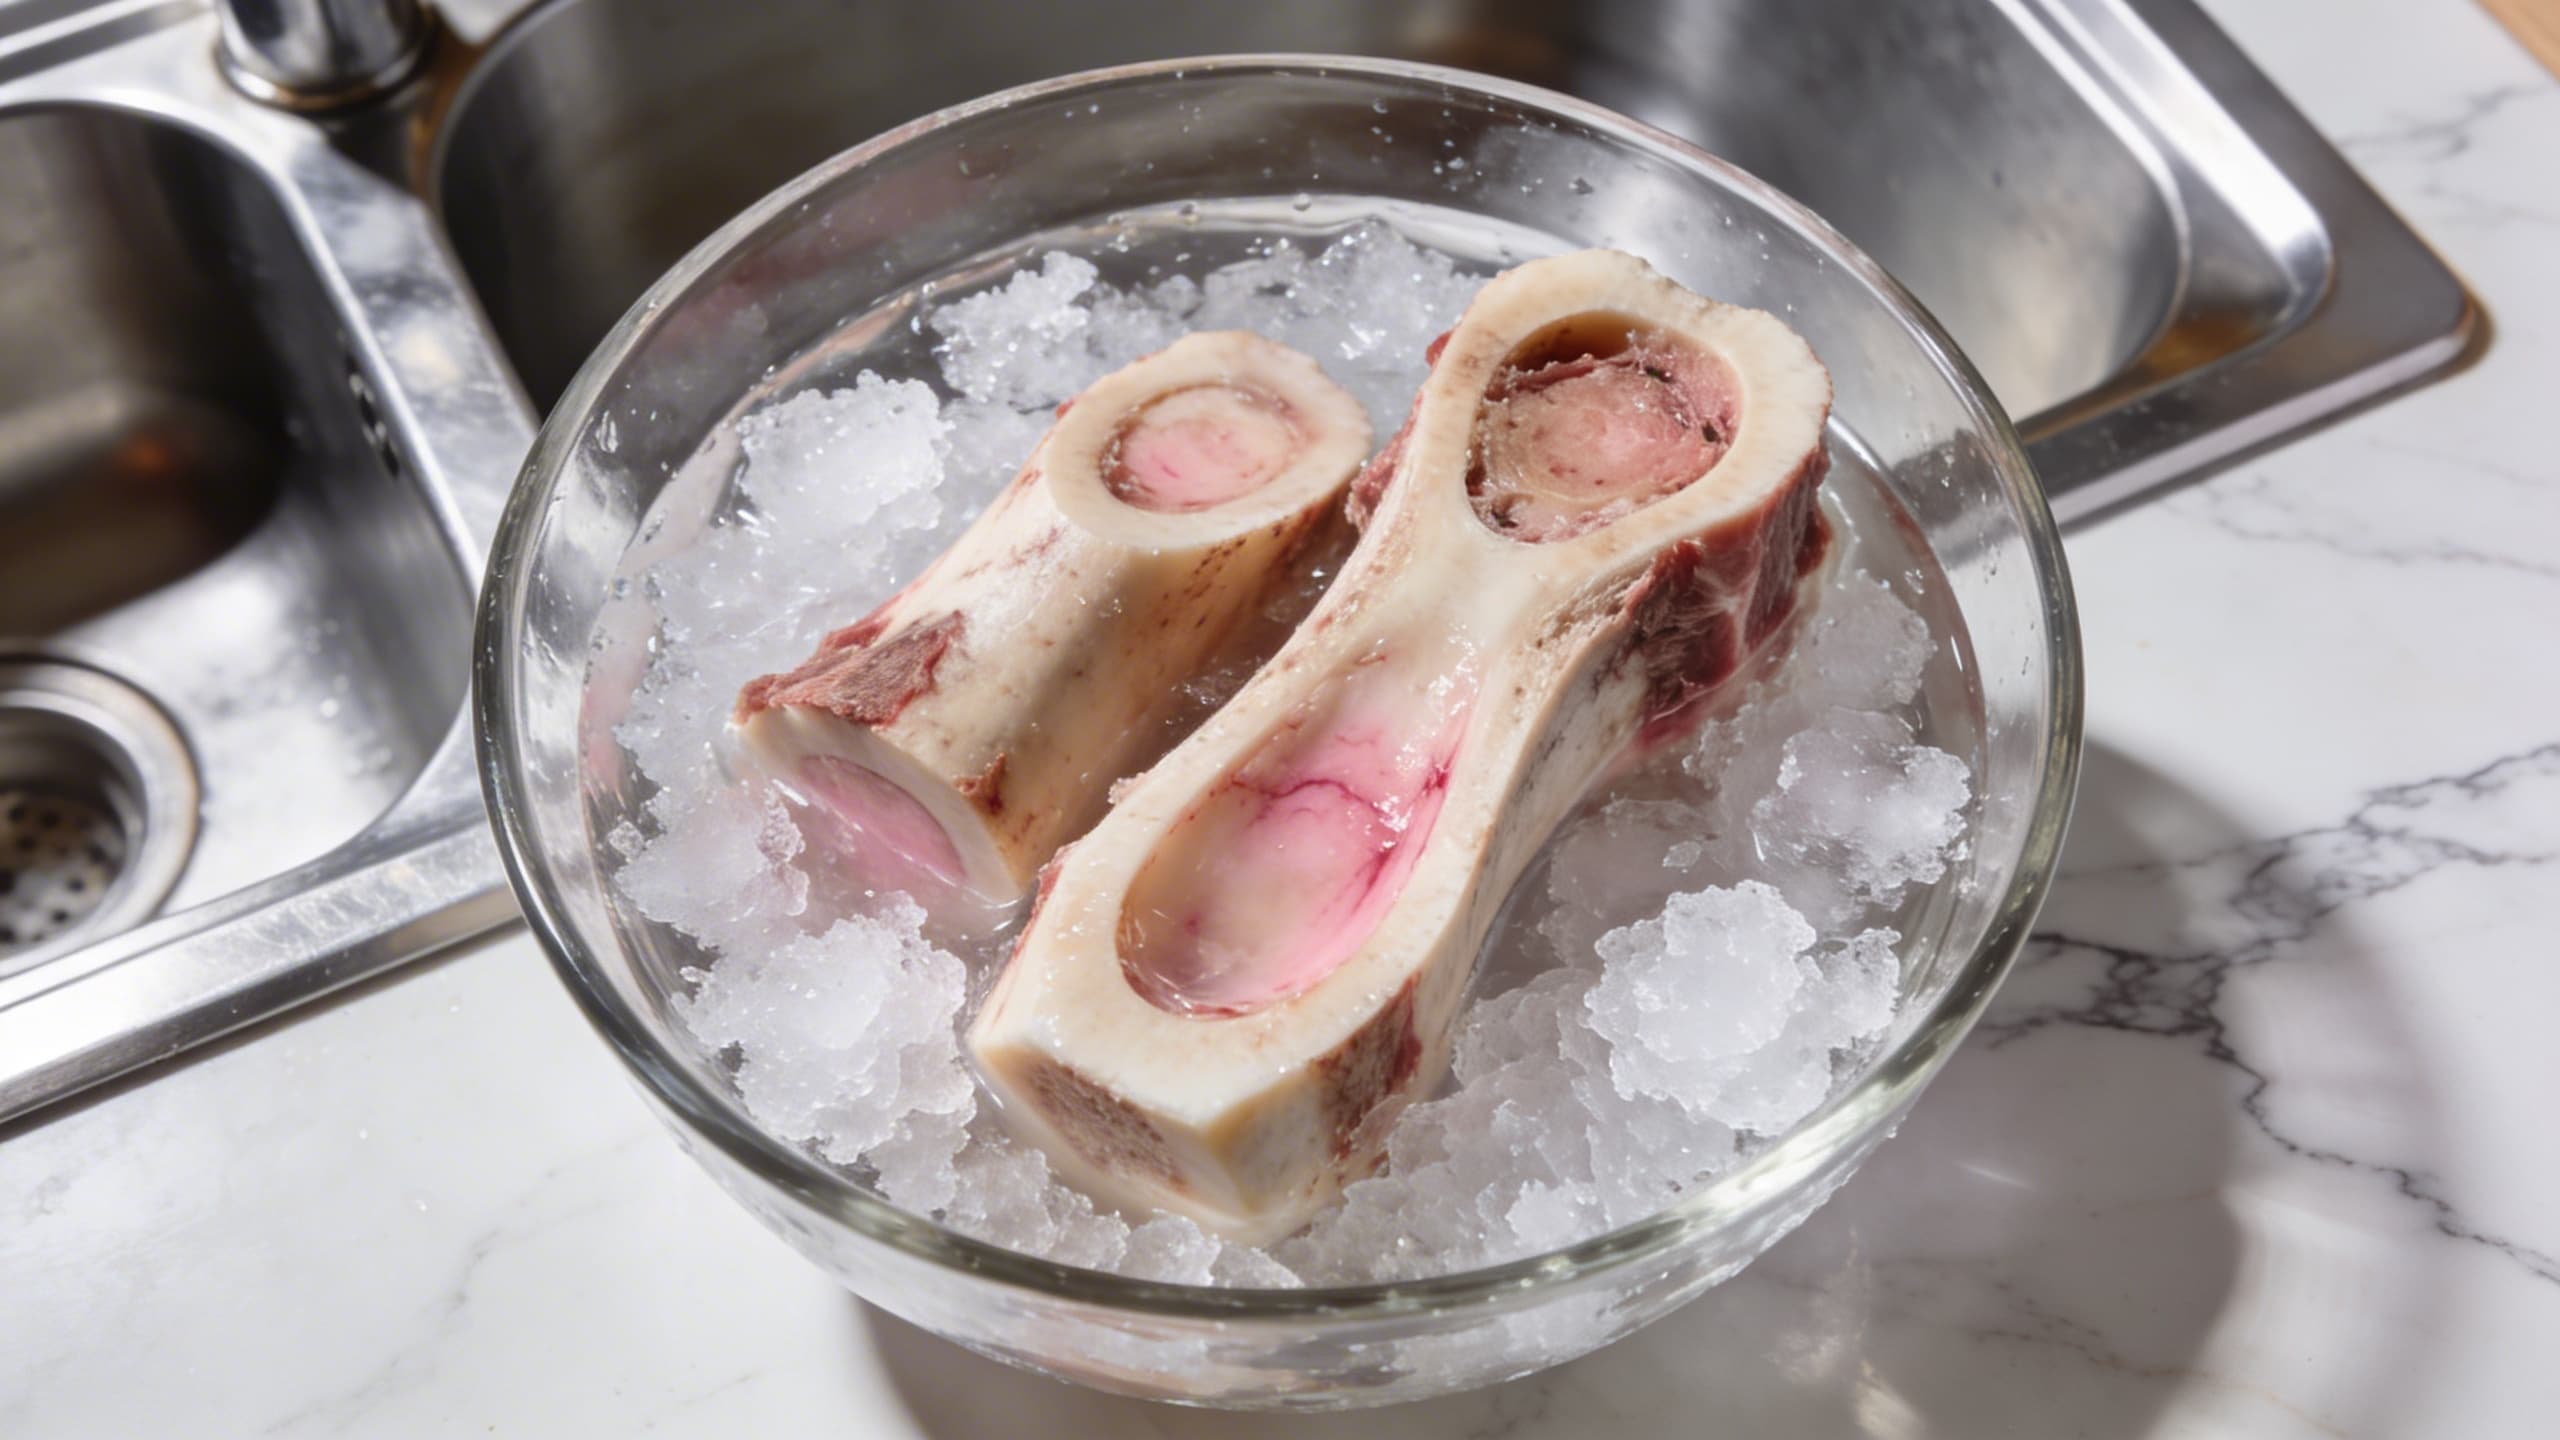
Tip: Change the water every 4 hours if you can. The clearer the water, the cleaner the final taste. If you skip this, your marrow will have a metallic "iron" tang that clashes with delicate fusion flavors.
Step 2: The Thermodynamic Prep
Once cleaned, pat the bones bone-dry. Any surface moisture will steam rather than smoke, and we aren't making soup. For the best results, I prefer a "canoe cut" (split lengthwise). It provides a massive surface area for smoke absorption and makes for a stunning presentation.
Great cooking is about the intersection of thermodynamics and art.
Seasoning should be minimal at this stage. A light dusting of Maldon sea salt and perhaps a hint of cracked white pepper. We want the smoke to be the seasoning, not a heavy rub that masks the natural richness.
Step 3: Low and Slow (The Precision Phase)
This is where the magic happens. You want your smoker—ideally an offset or a high-end pellet grill—running at a steady 225°F (107°C). I recommend using a light fruitwood like cherry or apple. Mesquite is too aggressive; it will turn your "butter" into "liquid campfire."
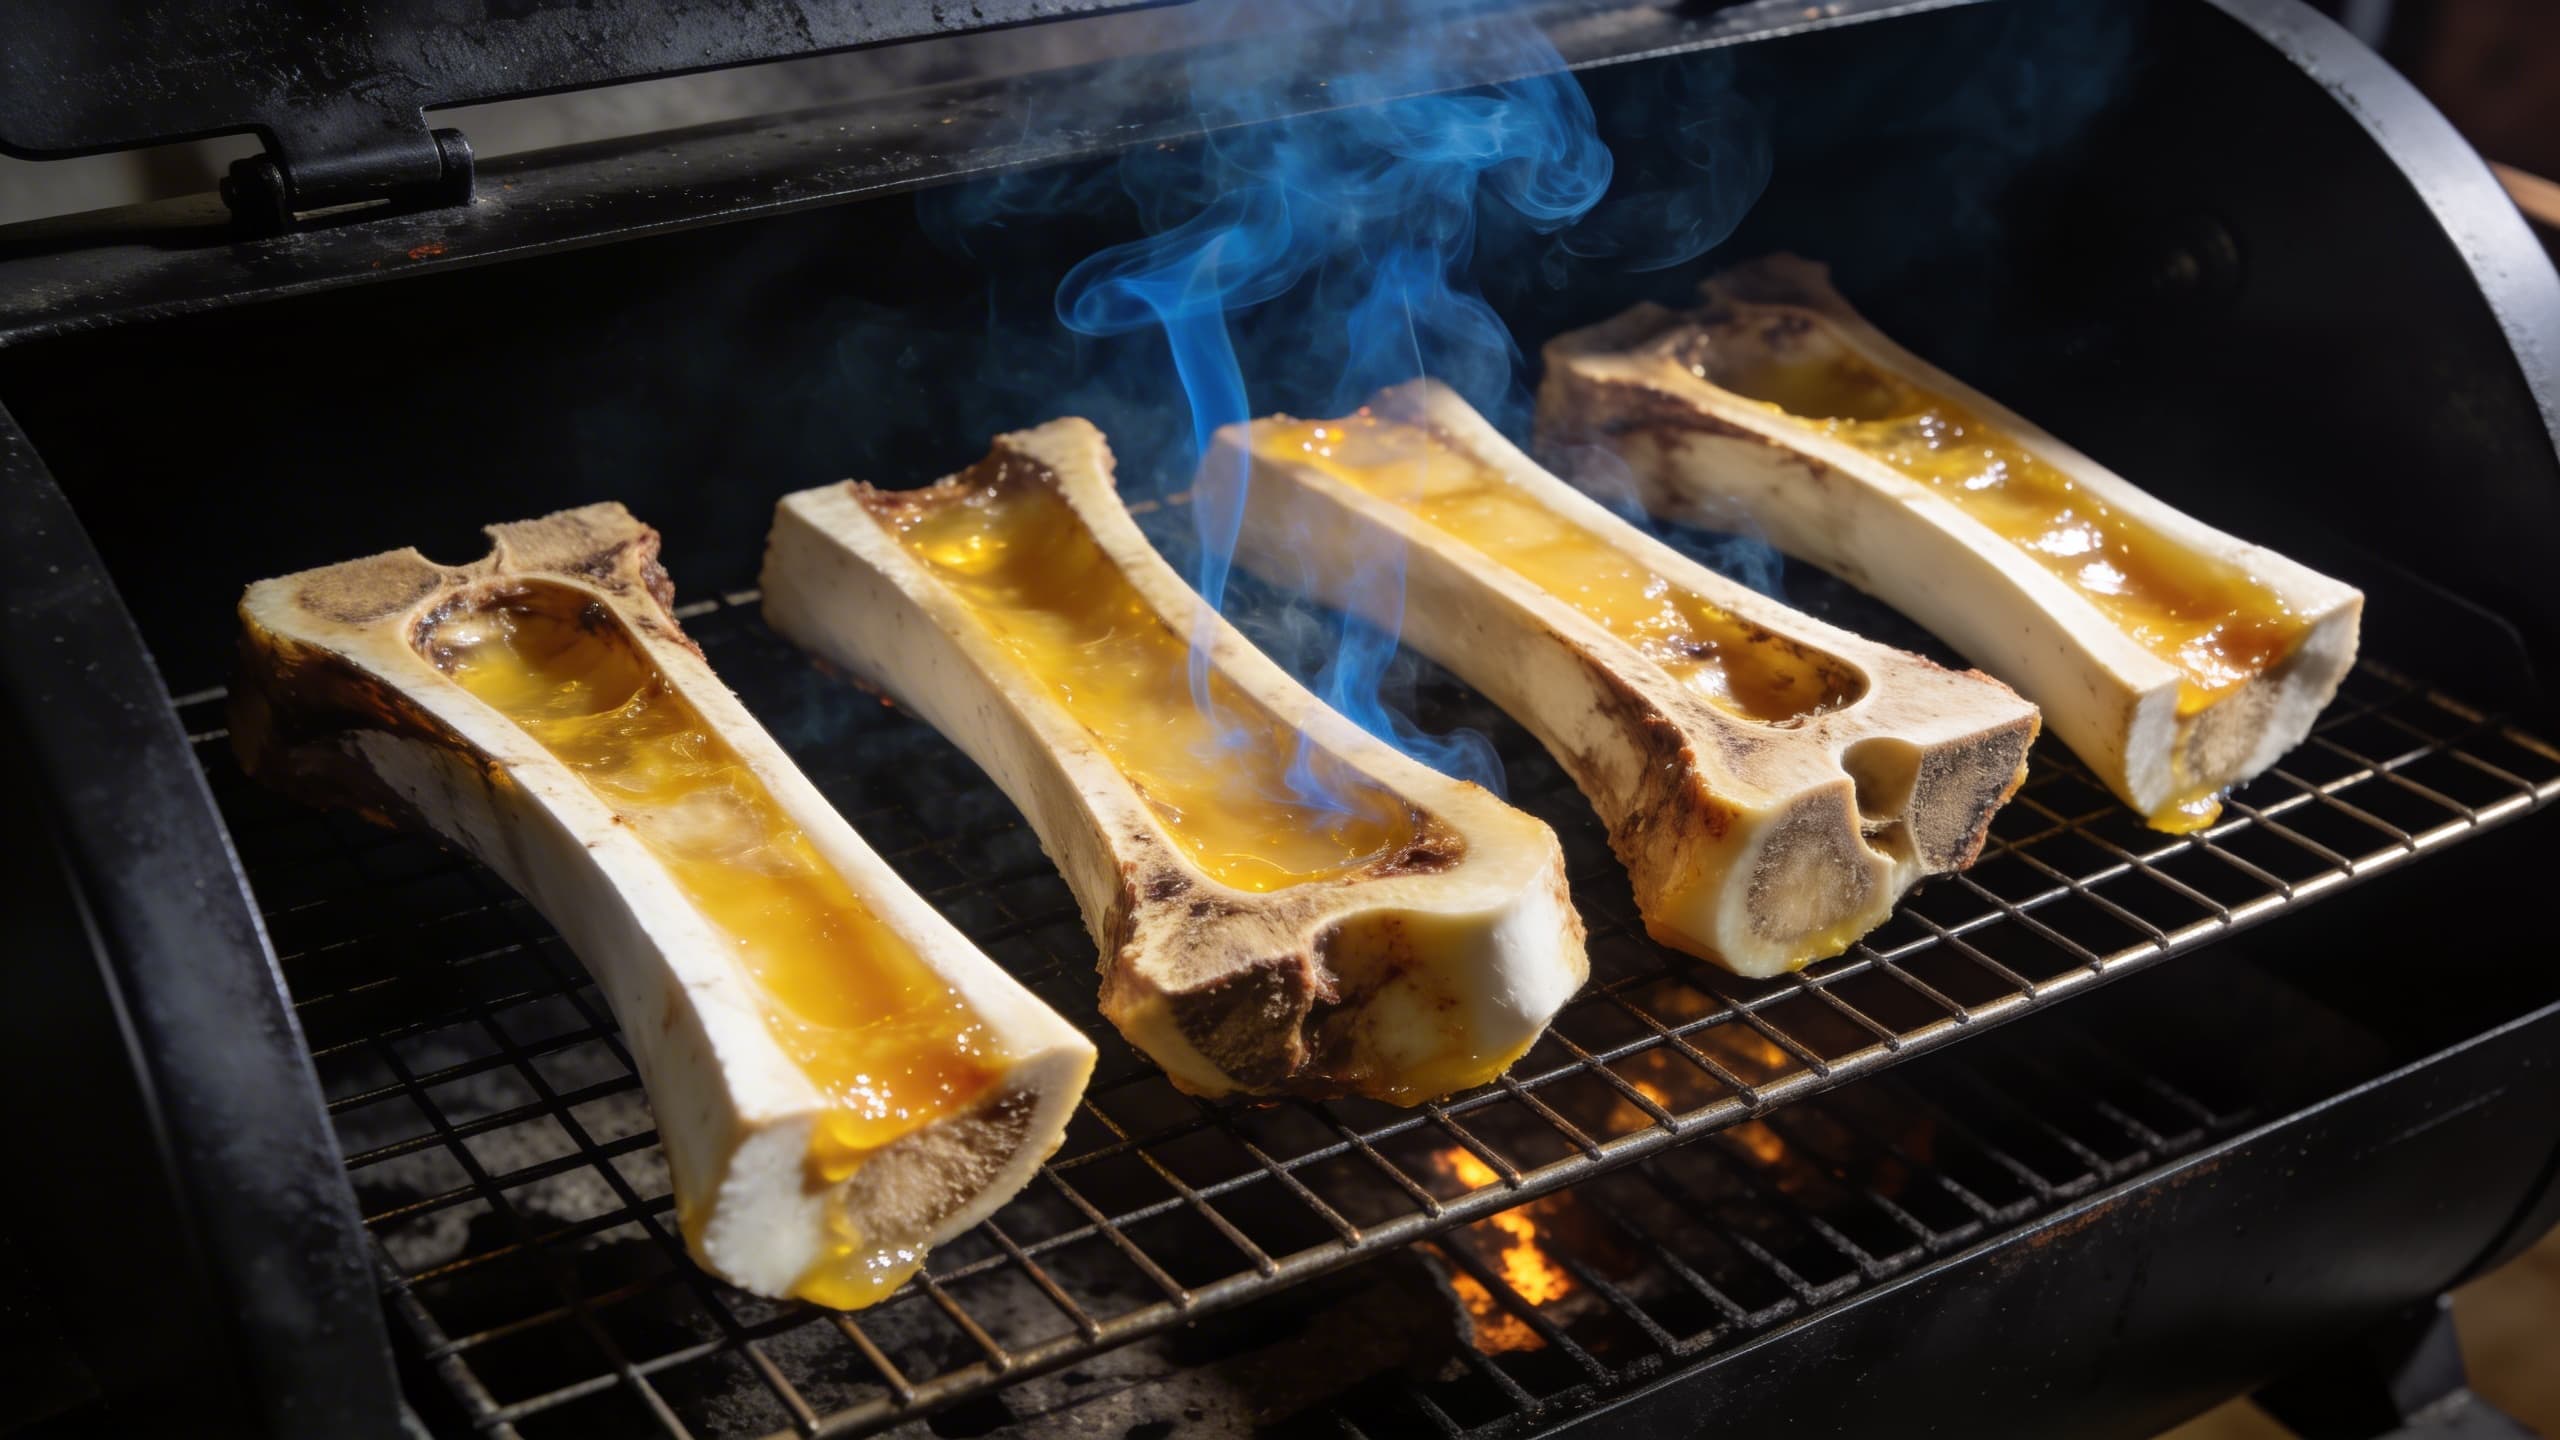
Pro Tip: Place the bones on a wire rack over a sheet pan. Marrow is fat; fat melts. If you place them directly on the grates, you risk losing that precious liquid gold to the fire.
The goal is to smoke them until the marrow is soft all the way through—usually about 45 minutes to an hour. You’re looking for a slight jiggle, not a liquid puddle.
Step 4: The Fusion Finish
Once pulled from the smoker, don't just serve it. This is where we elevate. I like to finish mine with a quick blast under a broiler for 60 seconds to get a micro-thin crust on top, then immediately fold it into a hand-chopped beef tartare or spread it over a charred sourdough with a lemon-garlic gremolata.
Key Takeaway: Smoked marrow is a high-viscosity flavor enhancer. Use it to add depth to sauces, richness to pastas, or as a standalone centerpiece that proves you’ve mastered the art of the smoke.
Blunders to Avoid
In my journey from Le Cordon Bleu to the pit, I’ve learned that bone marrow is unforgiving. My biggest blunder? Trying to "hot smoke" it at 350°F. The marrow rendered out completely, leaving me with empty bones and a very greasy smoker floor.
Warning: Never leave your marrow unattended in the final 10 minutes. The transition from "perfectly rendered" to "completely melted" happens in a heartbeat.
Mastering this technique isn't just about one dish; it’s about building a routine of precision. When you treat your ingredients with this level of respect, every meal becomes a Michelin-star moment. Keep it classy, keep it smoky.
#bbqtechniques #bonemarrow #finedining #smokering #culinaryprecision